


Follow Us on


-

-

-
AS SEEN ON/IN


AS SEEN ON/IN
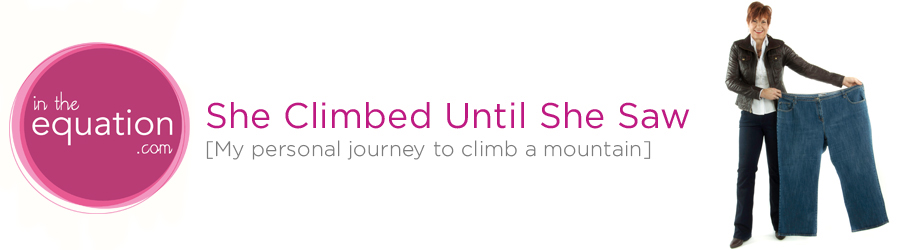
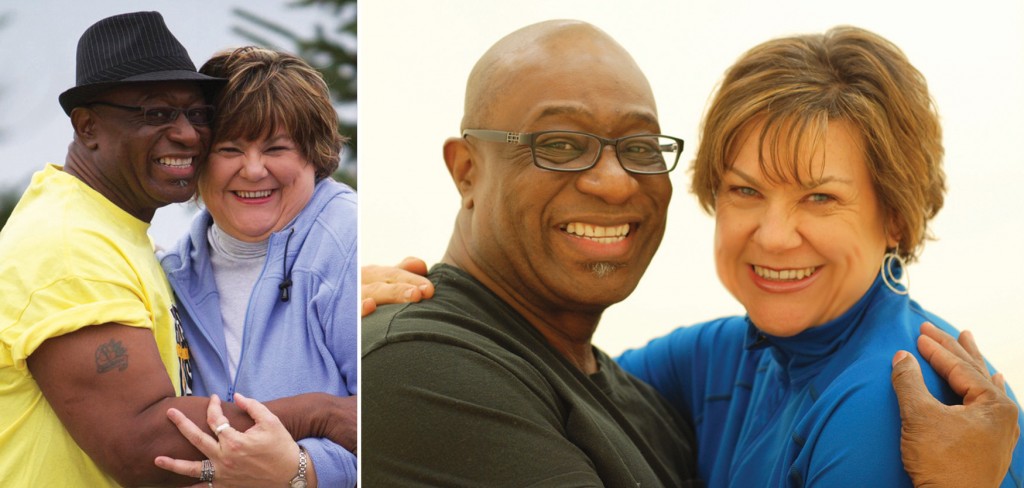
 My journey of personal transformation has been a quest to put myself back in the equation of my life. For me, there were mountains to climb, both literally and figuratively.
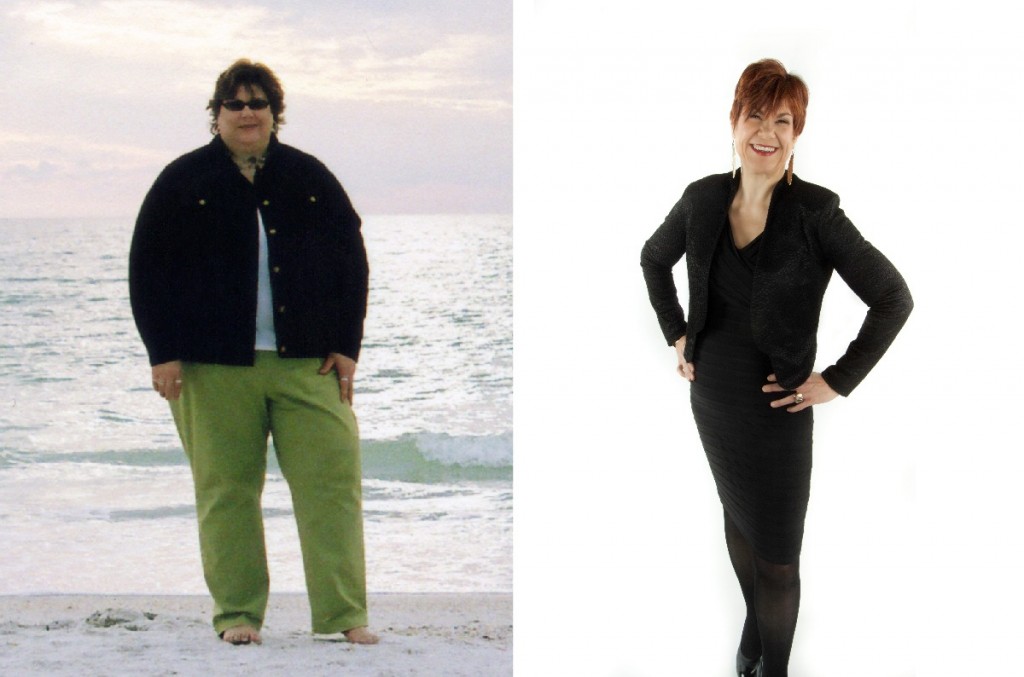
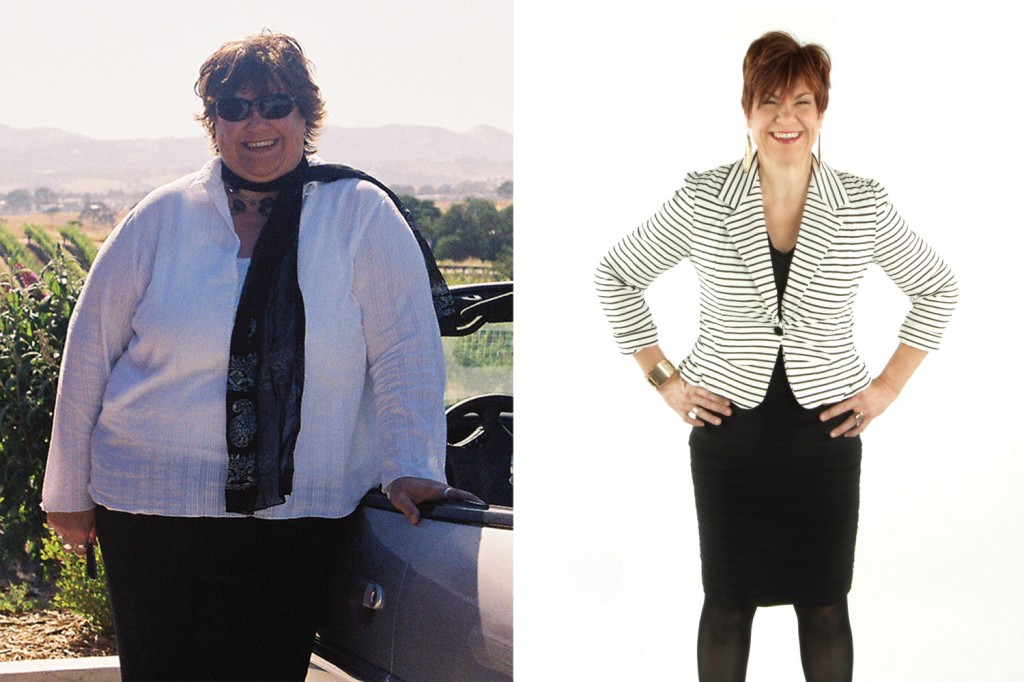
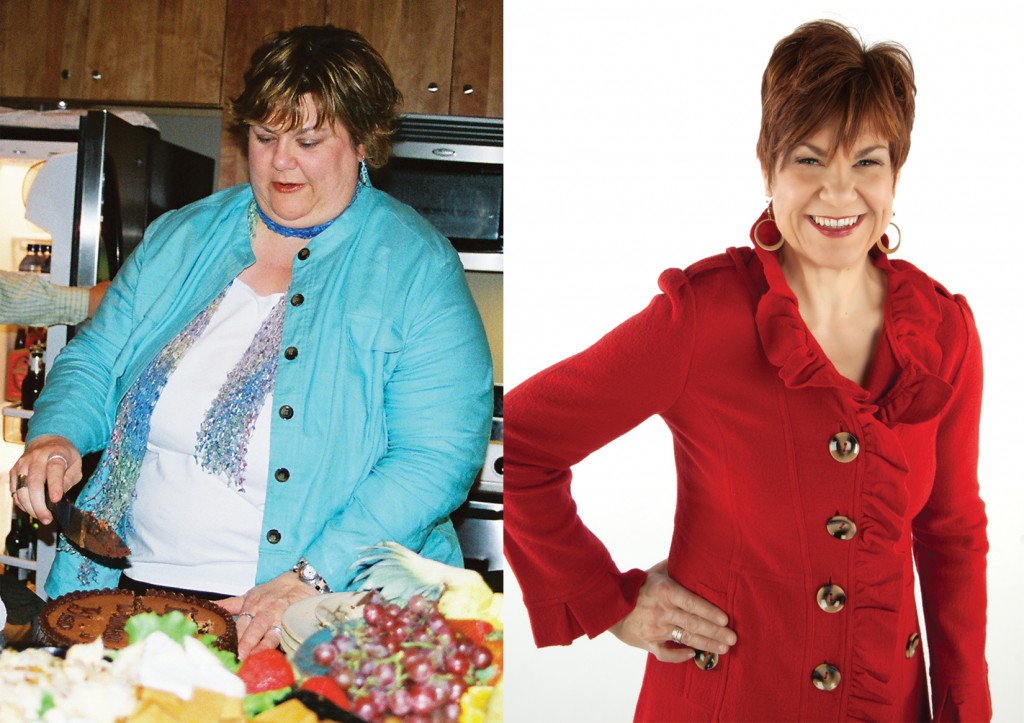
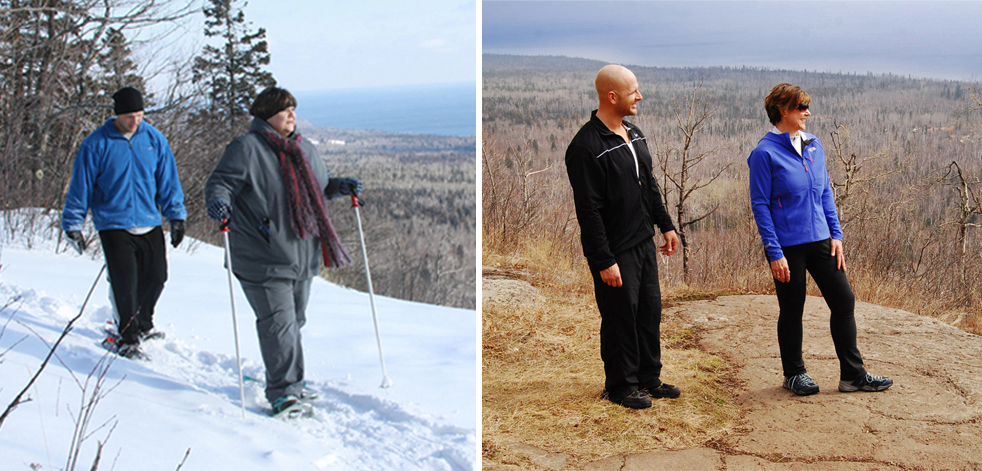
After battling a lifelong obesity problem, I learned to create time and space to nurture my health and my inner self. I pushed past fear and in the process lost 211 pounds, 47.5% body fat and 11 dress sizes in 18 months. More importantly, I gained a new perspective on life.
Today, my life is full and happy. I not only climb mountains but inspire others to do the same. Read more about my marketing agency, Marketing that Matters, or my In the Equation work here.
Linen Theme by The Theme Foundry
Copyright © 2024 In the Equation. All rights reserved.
Trackbacks & Pingbacks